|
|
 subscribe
|
subscribe
|

|
. . . . . . . . . . . . . . . . . . . . . . . . . . . . . . . . . . . . . . . . . . |
installing the alarm, p. 2
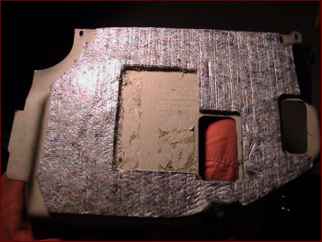
Having removed the glove compartment, I now remove the trim panel. It doesn't come out easily, but a couple of tugs do the trick. There was probably an easier way to do this.
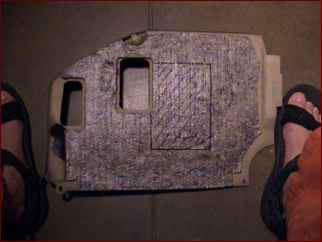
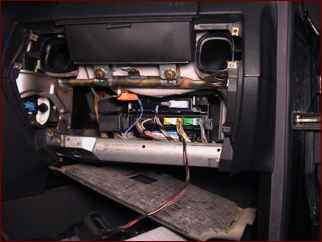 Putting the panel in my lap, I compare it with the instructions. My panel doesn't have one of the cut-outs shown, but that's okay with me.
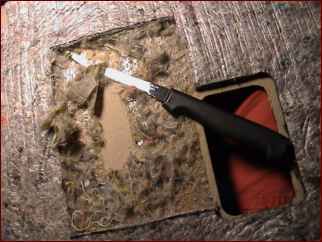
 I mark out the area in which I'll remove the insulation.
 I'm at the in-laws, and I don't have my modelling knives and other implements of destruction, so I make do with a steak knife. The insulation seems to be some aggregate of lint stuck to the heavy cardboard panel.
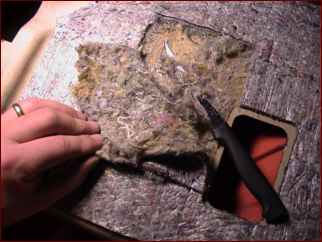 In some ways I'm better off without a razor-sharp tiny blade; the steak knife is prefect for sliding under the insulation and peeling it off. Isaac steps in to help.
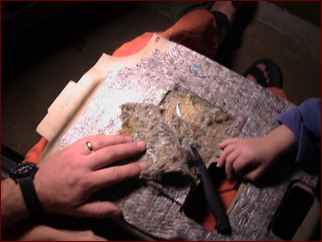 Accidentally I nick the plastic adhesive layer and see that it can be peeled off.
 At the top right of the area I'm cleaning you can see one of the strips coming up.
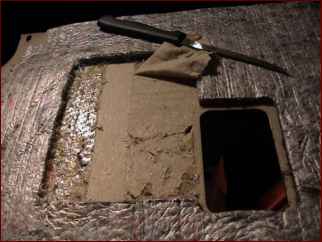 Here's the area reasonably clear of both insulation and backing. There's more than enough clean cardboard exposed for the velcro tape to get a grip.
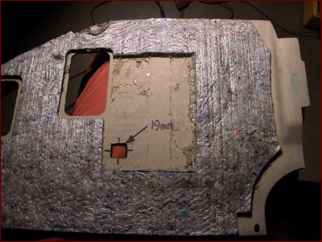
 Rotating the panel back to the way shown in the instructions I mark the location of the microphone.
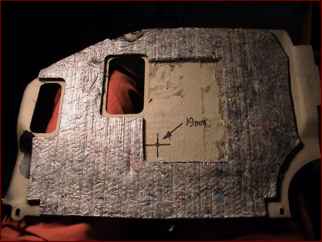 Another moment of panic: I don't have a drill bit anywhere close to 19 mm (3/4 inch). Grabbing the steak knife I make a square cut-out instead. I blacken the edges with a magic marker for the off chance that anyone will ever stick their heads into the foot-well and look upwards.
 Now I can continue with connecting the transmitter.
|
| Have you found errors nontrivial or marginal, factual, analytical and illogical, arithmetical, temporal, or even typographical? Please let me know; drop me email. Thanks! |