|
|
 subscribe
|
subscribe
|

installing keyless alarm |
. . . . . . . . . . . . . . . . . . . . . . . . . . . . . . . . . . . . . . . . . . |
How to install the BMW keyless remote entry vehicle security system
After a bit of discussion, a lot of thought, and being reminded that my car insurance will likely drop in cost, I finally ordered the BMW remote keyless entry security system from an online dealership - either Circle BMW or Pacific BMW - for $150 less than my local shop.
Following the package's progress across the country via the shipping service's web site gets tedious after a few days, but it's oh so much better than the bad old days, when there was no way to figure out what was going on. On the predicted day the package arrives.
Isaac and I are out at Ocean Beach. He's pretending to drive the Bimmer while I fix an inoperable brake light (which turned out not to have been burned out but rather to have wiggled loose in its holder). Since I have an evening planned at the in-laws, I'll start on the installation after I cook dinner.
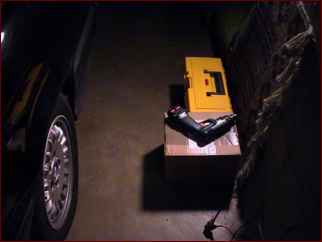
Dinner done, and others doing the dishes, I start by getting my car into their garage, arranging a work light, and putting what I think I'll need on the floor by the driver's side door.
 First of all I open the package. Inside is the white box.
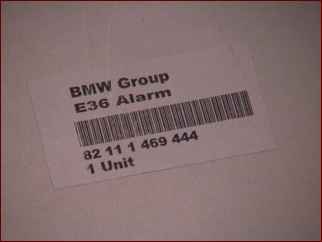 Then I check the part description and name. For those of you who will get to this page via a search engine, the package shows
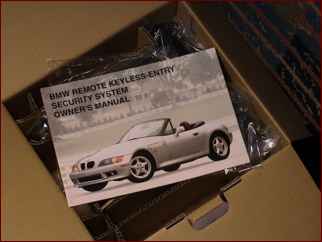
Opening it up I see the Owner's Manual on top, window decals to frighten away would-be thieves, and a collection of parts underneath.
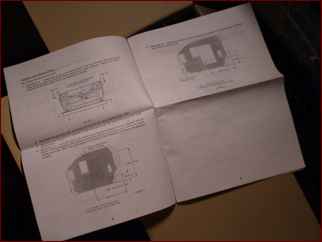
 Tucked in behind the manual is the instructions booklet, printed on thin white paper.
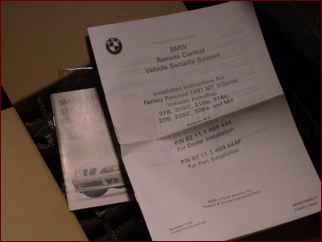 I read through the entire instructions (a good thing, as you'll see later) and then return to the description of my first task: removing the glovebox (or as we Americans say, the glove compartment).
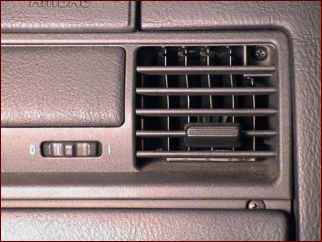
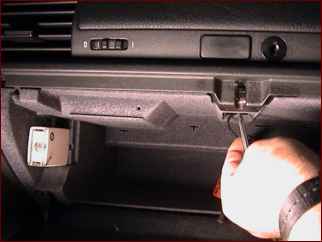
 I start by unscrewing the screws which are under the air vent, one per side.
 Then I very gently pry off the light with the tip of a screwdriver.
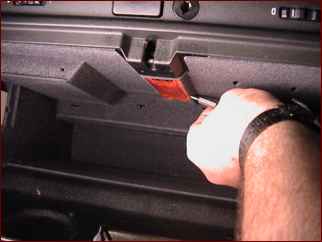 The light assembly starts to come out...
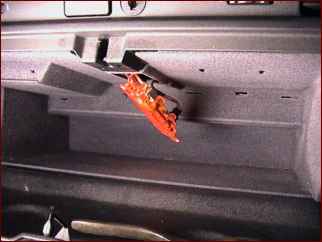 ...and with a little tug drops into the glove compartment.
 My first moment of panic: I don't have a socket set with me. Luckily the in-laws have an old coffee can filled with wrenches, one of which is tiny enough to fit in the glove compartment and also fits the bolt which needs to be removed. I'm in luck.
 The glove compartment easily comes off...
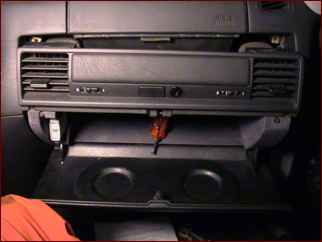 ...and fits into the foot-well.
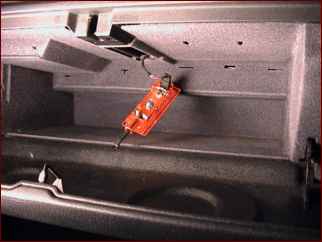
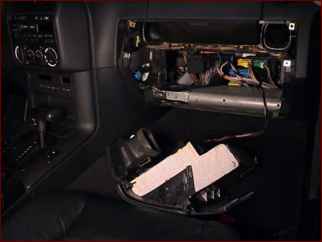 Now I'm faced with the nerve center of the car, a colorful collection of electric spaghetti.
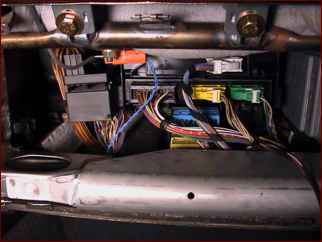 Deep breath, stretch the legs, and then continue on with the next step.
|
| Have you found errors nontrivial or marginal, factual, analytical and illogical, arithmetical, temporal, or even typographical? Please let me know; drop me email. Thanks! |